ASSIGMENT - design and make a 3D mold (~ft2), and produce a fiber composite part in it
A FEW TESTS {MATERIALS AND IDEAS}
I started by looking at some previous and current student pages, what they made the molds from, what we could use, what they cast with, and how it all applies to composites. I wanted to make something using either bio waste or plastic bags. researching this was very interesting. We have a fair amount of karakul felt, a huge waste material in Namibia, from a previous project, I was definitely going to try use that.
I looked at coffee ground and how that is already being used in industry, researched how to use it in composites with bio-polymers and animal glues, derived glues from untanned hides, but this it is still quite an expensive option.
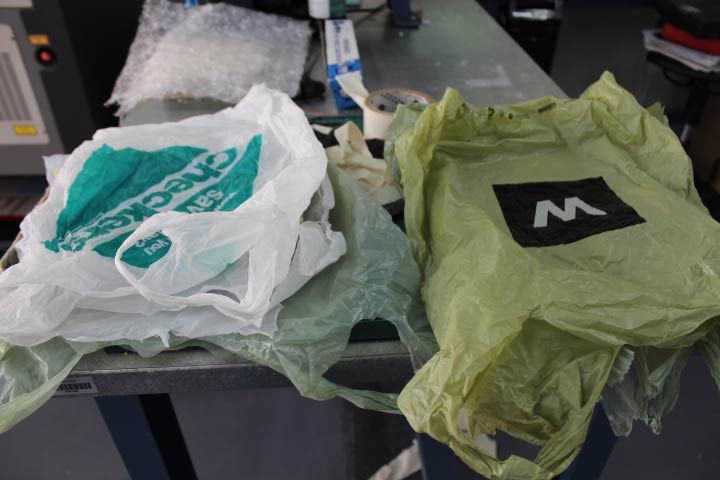
In my search for plastic bag options I found that there are already producers making compostes with sawdust and plastic bags for decking and concrete with plastic bags instead of typical mined aggregate.
I also came across the KULLA DESIGN site, whilst researching plastic bags, I will attempt this mixture of 50% sawdust and 50% plastic bag soon!
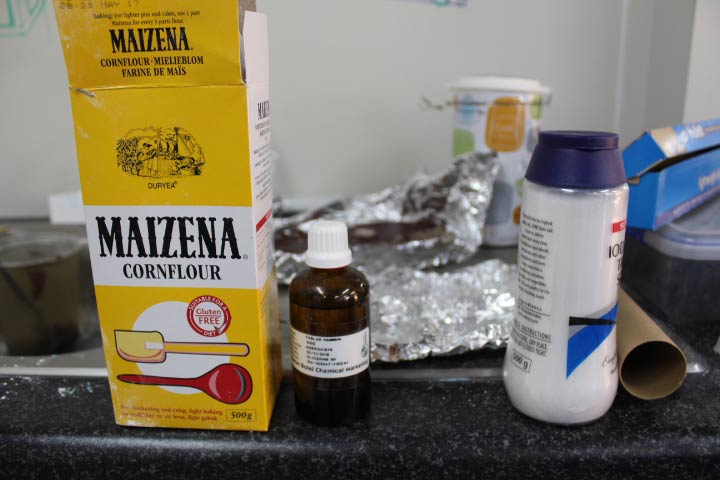
I also found an interesting article relating to milk and vinegar, not a true polymer, to make a casein bio-plastic, apparently used since quite early on in the for buttons and jewelry, and apparently invented by Leonardo da Vinci. As well as cornstarch bio-plastic or start plastics.
I tried the bio-plasticrecipe 1:
Recipe 1: starch + salt + glycerol
What do I do when I have all of the ingredients?
Mix all of the ingredients together in the amounts above, and stir. Keep mixing until there are no clumps, and heat the mixture to 95 C or to when it starts to froth (whichever comes first). Stir the mixture while you are heating it, and once it is at the right temperature (or starts to froth), remove the heat and keep stirring. Scoop out excess froth with a spoon, and make sure there are no clumps. The mixture will start to froth a great deal if it is overheated, so be sure to remove it from the heat and stir, scooping out excess froth if necessary.
You will want to carefully pour the mixture directly into the mold that you are using. How long it will take to dry will depend on the temperature and humidity in the room, and how thick the final product is. It may take several days, so be patient! Sometimes people find that it helps to blow it with a blow-dryer for a period of time. If your first batch turns out too sticky or slimy, you can try it again with slightly less plasticizer (glycerol).
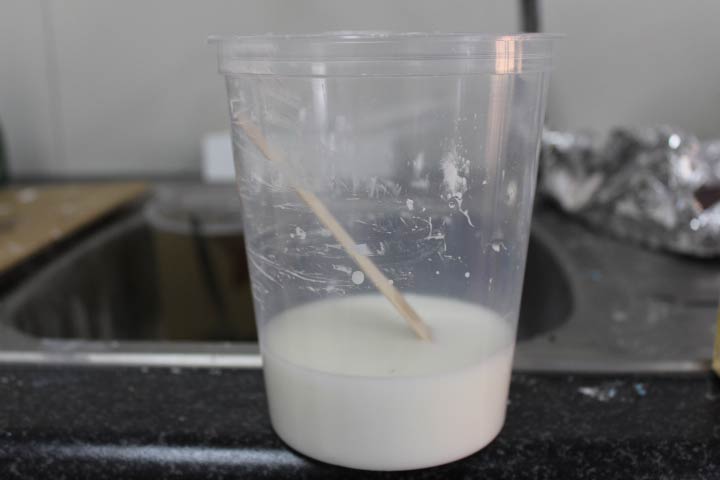
I think my water glycerol mix was way off! I heated it in a pot and it thickened much too quickly and nowhere near 95C.
In the diferent test layers I had one plain, one with coffee grind, one with calico and one with plastic bag cut offs.
It is very jelly like..
The next test was to see if we could use polystyrene as our mold when using resin. We painted the mold with a white acrylic as a protective layer, but this did not work!!!! All the resin that leaked ate through the polystyrene and made a huge mess. The composite of felt and resin survived and worked quite well though. See Bjorn's page.
Ohad then requested that we stick to basics first and simply use a fabric, on a one sided mold, with the vacuum process.
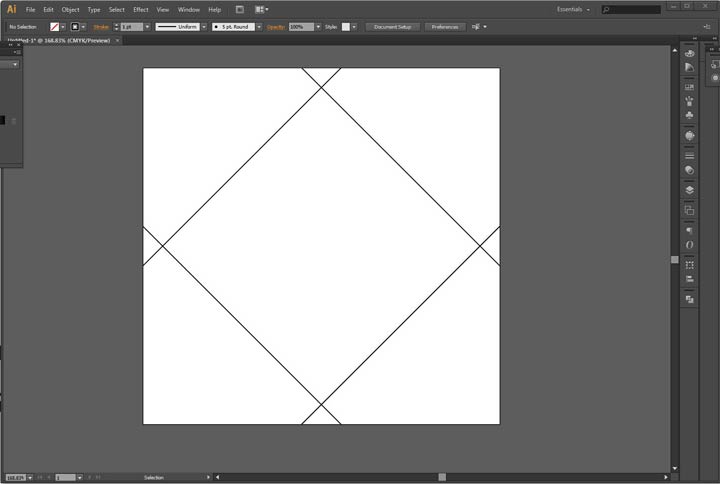
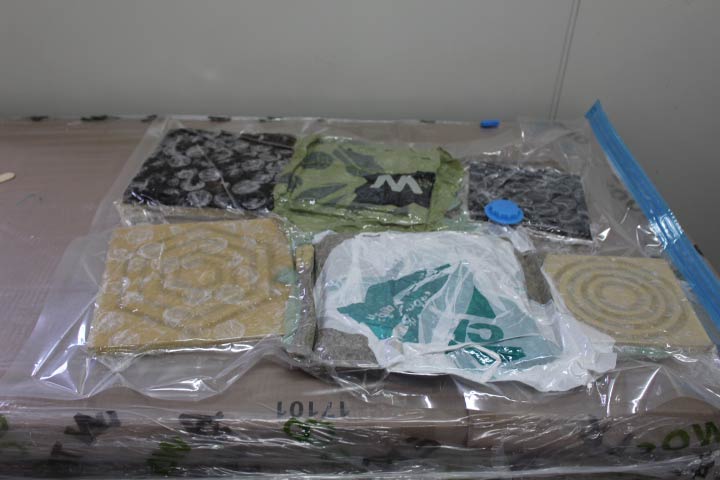
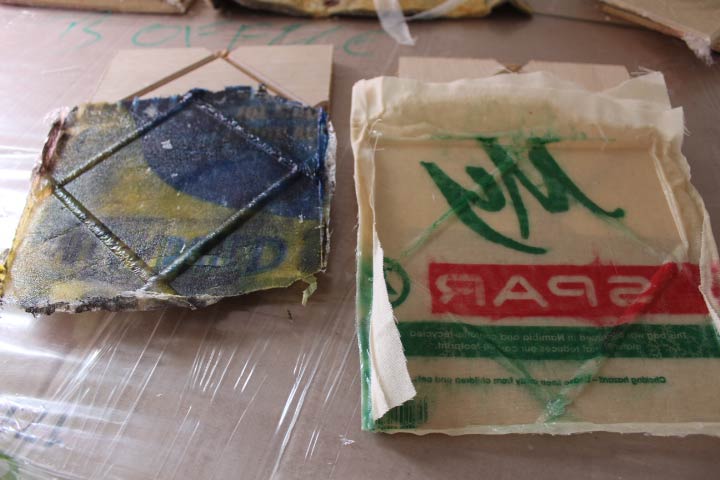
I designed a simple tile pattern in illustrator, exported as dxf to use on the shopbot which we milled with a 3mm v bit on 15mm plywood.
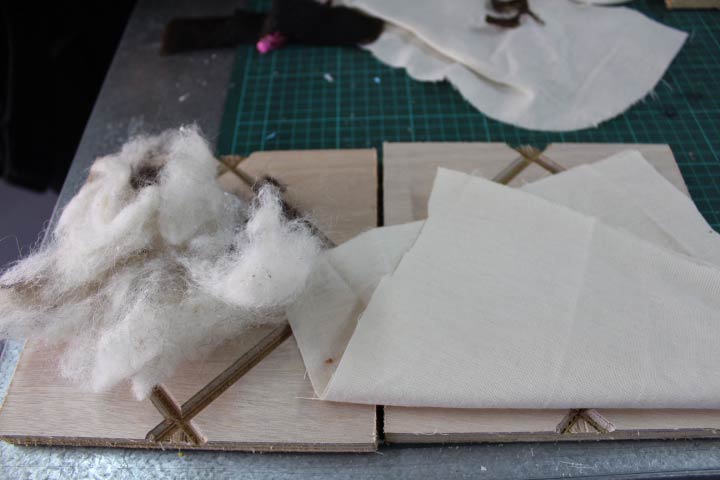
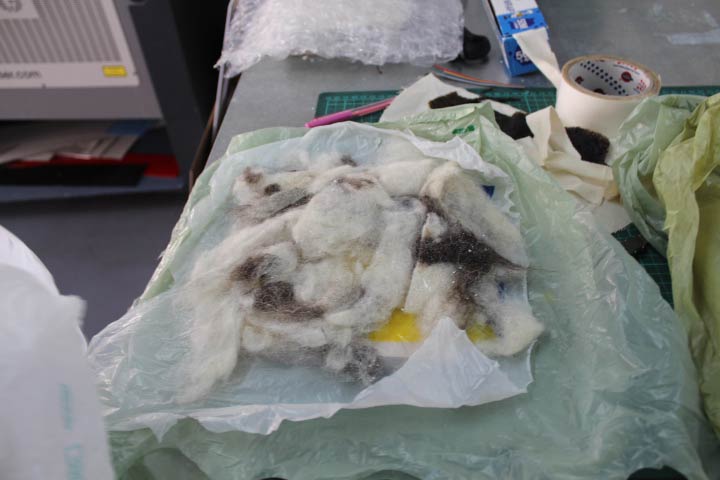
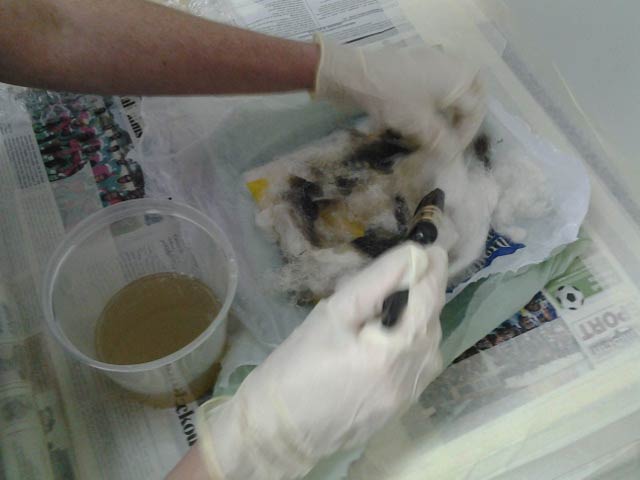
I used broken up felt on one and 2 layers of calico on the other.
I had previously found Gabriella Gardosi's 2015 explanation of the layers, see below, and so I used her layup method.
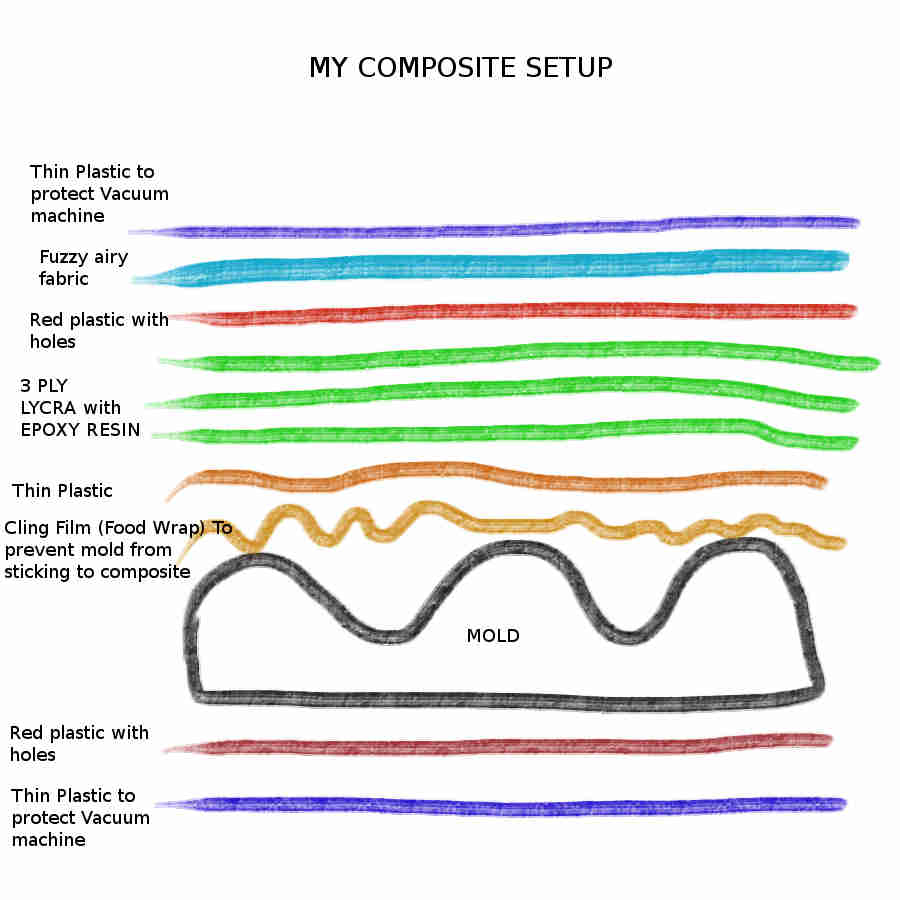
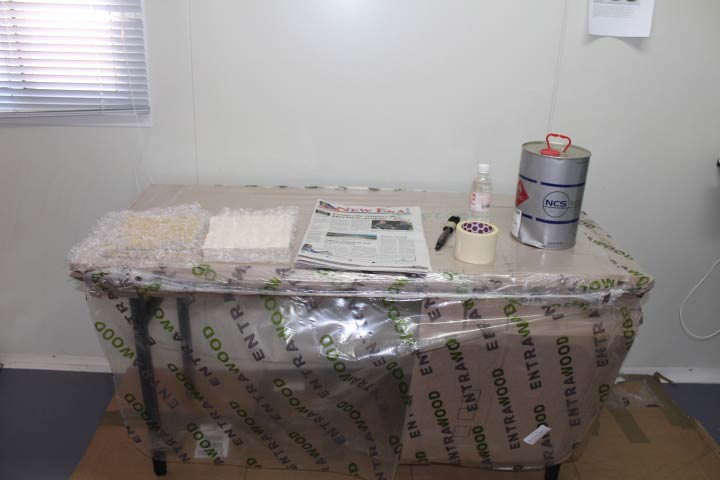
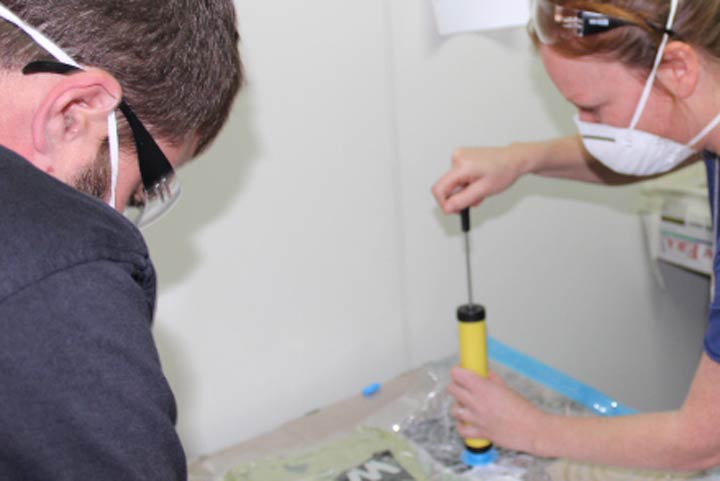
We used an NCS fibre glass resin with hardener which can be used at a ratio of 1 to 2 %. We used it at 1% ratio because we were all doing our resin at the same time, in the same bag, we did not want it to cure too quickly.
GLOVES, EYEWEAR AND FACEMASK ESSENTIAL!
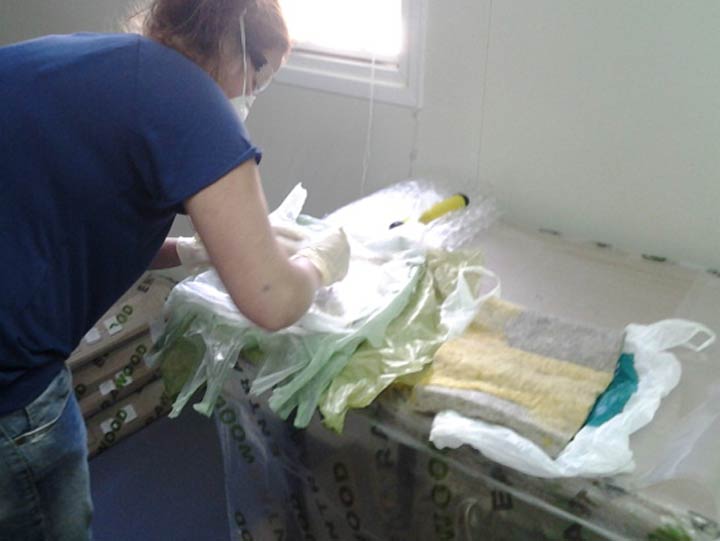
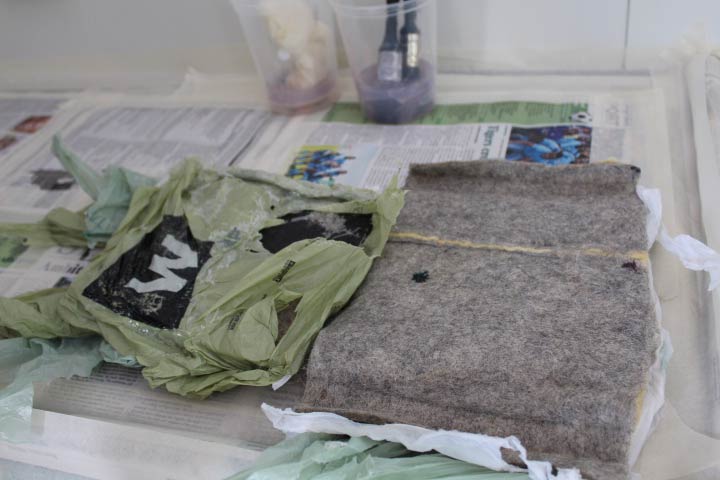
I started with the calico fabric, 2 layers, painting on the resin.
Next I did the broken up felt, tried painting but it was more daubing and pasting than painting.
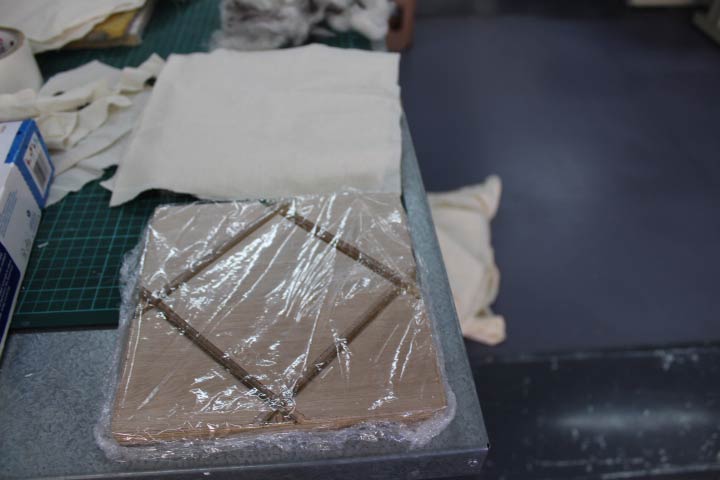
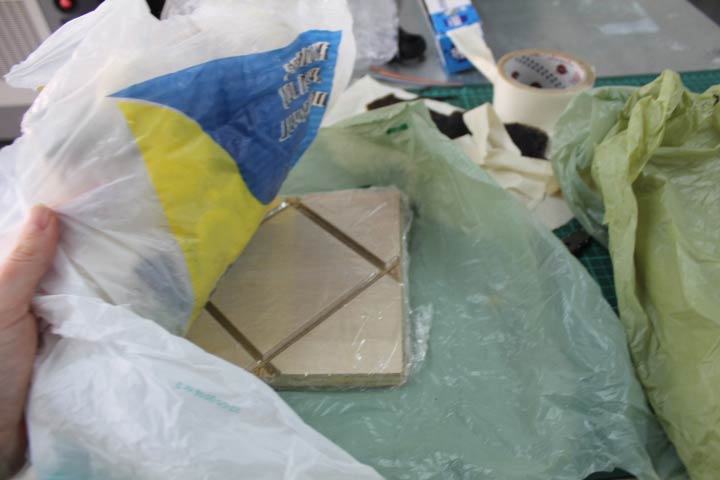
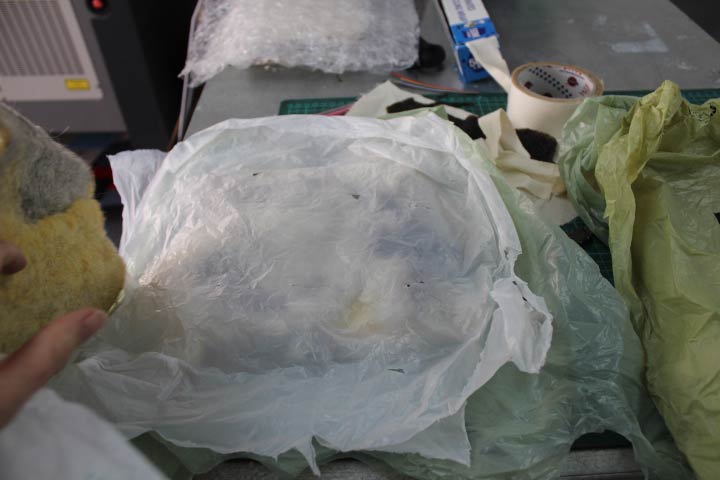
I covered it with the plastic and "breather" felt layers and placed it in the bag. Once all the pieces were done we sealed the bag and pumped the air out.

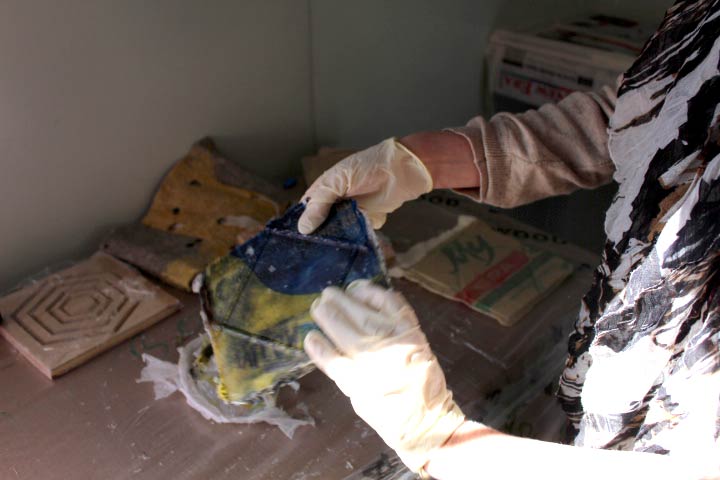
RELEASING THE MOLD {NOT SURE WHAT TO EXPECT}
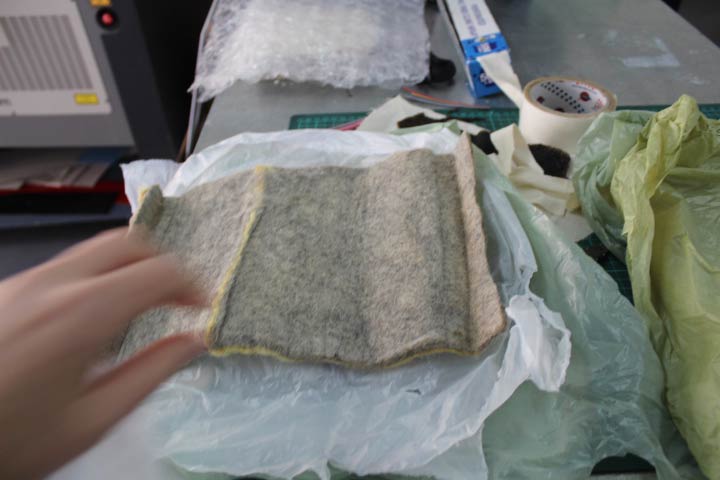
After about 20 hrs cure time we opened the bag!
Everyones had worked.YAY!
Because I had used shopper bags I got quite interesting print tranfer results on my composites.
I think I would far rather expirement with bio-composites as this seems to have a lot of plastic waste bi-product and the resin is quite toxic.

PREVIOUS COMPOSITE WORKS {PLAYING AROUND}
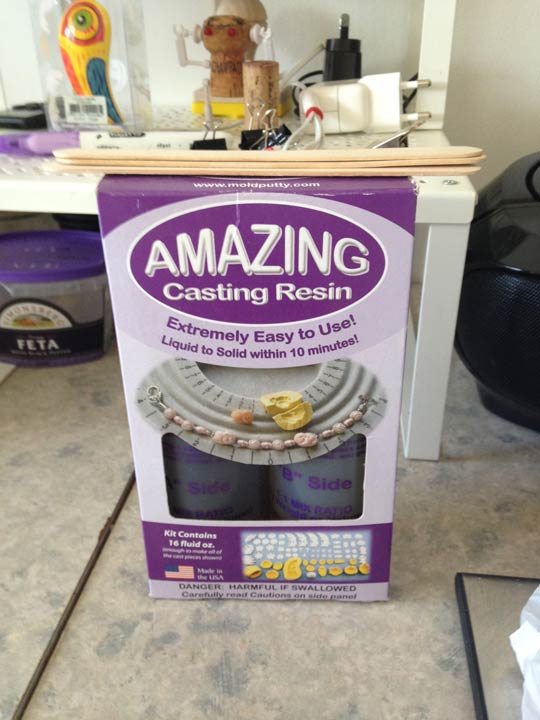
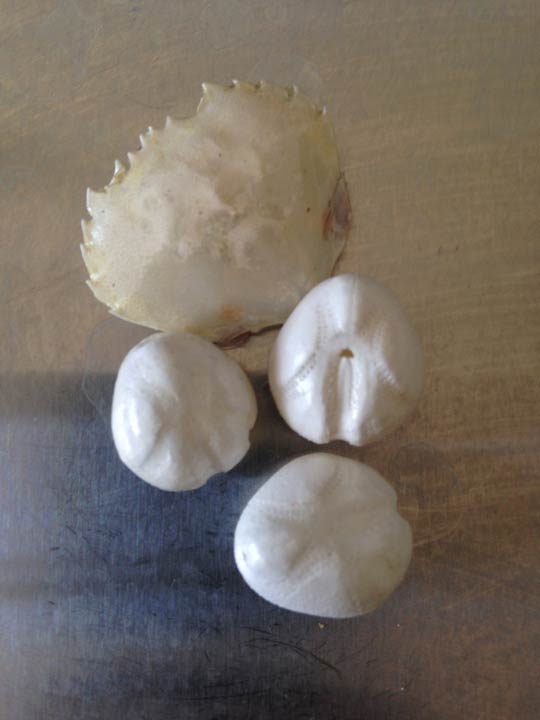
I have previously worked/played with craft resin casting and layering, in far smaller amounts. I had found, after a huge storm in Jervis Bay, Australia, very thin white shells, resembling my sand dollar, as well as a very thin crab shell. They were extremely beautiful and extremely brittle.
I strengthened them by painting layers of resin over and over. The first white shell became translucent, so I started by painting the rest with a thin, very watered down white acrylic, about 3 layers ( it absorbed immediately) and then the layers of resin.
Here is a picture of that.